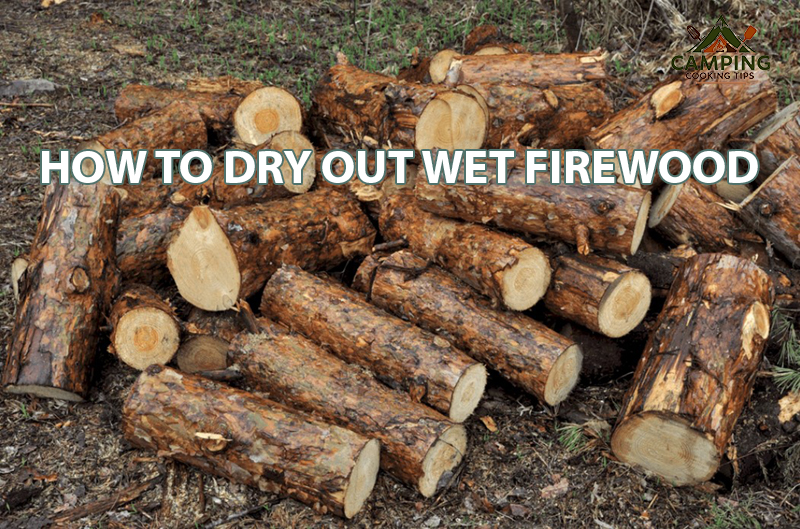
If you’ve ever tried to ignite wet firewood, you know the frustration it brings-smoky fires, reduced heat output, and a struggle to keep the flames alive. As someone who thrives in precision and preparation, I can liken this to cooking with soggy ingredients-your results will always fall short of their potential. In this guide, I’ll walk you through detailed and effective methods to dry out wet firewood quickly, ensuring you enjoy hotter, cleaner, and safer fires. Follow Campcookingtips.com!!!
Why Dry Firewood Matters
Burning wet or unseasoned wood not only affects the quality of your fire but also poses potential hazards. Here’s why dry firewood is essential:
- Easier Ignition: Wet wood takes longer to light due to the high moisture content.
- Less Smoke: Moisture in the wood creates steam, leading to excessive smoke that’s both irritating and harmful.
- Increased Heat Output: Instead of wasting energy on evaporating water, dry wood burns hotter and more efficiently.
- Reduced Creosote Build-Up: Wet wood produces more smoke, which leads to creosote accumulation in chimneys-a leading cause of chimney fires.

How to Dry Out Wet Firewood Quickly
1. Split the Logs for Faster Drying
Splitting firewood into smaller pieces increases the surface area exposed to air, allowing moisture to evaporate more quickly. Here’s how you can do it:
- Use a reliable axe, log splitter, or wedge.
- Aim to create uniform pieces to ensure consistent drying.
- Avoid leaving the logs whole, as they take significantly longer to dry.
2. Stack the Firewood Correctly
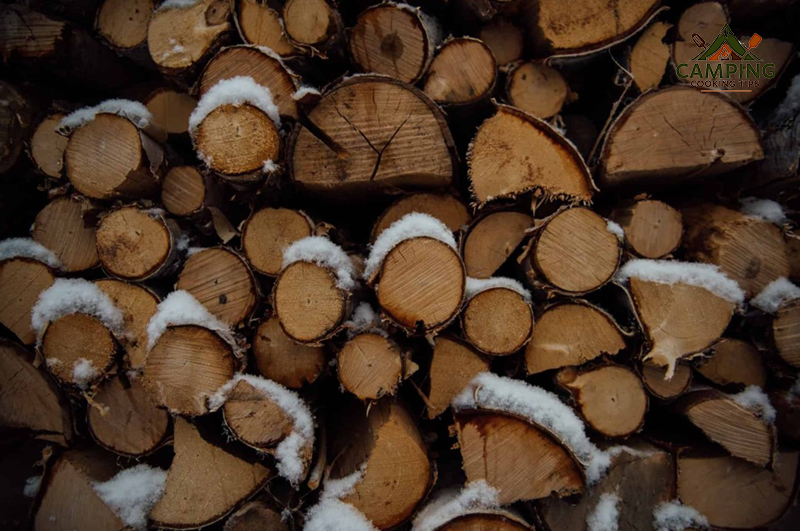
Proper stacking allows air to circulate around the wood, which is key to drying it faster. Follow these tips for the best results:
- Elevate the Stack: Place the wood on pallets, bricks, or a firewood rack to keep it off damp ground.
- Single-Row Stacking: Arrange the logs in a single row to maximize airflow.
- Crisscross Technique: For additional airflow, stack logs in a crisscross pattern, alternating directions with each layer.
- Spacing: Leave small gaps between the logs to improve ventilation.
3. Use Sunlight and Wind to Your Advantage
Nature offers two powerful drying agents: sunlight and wind. Position your woodpile in an open, sunny spot where it can benefit from direct sunlight and breezes. Ensure there’s no obstruction, like buildings or trees, blocking the area.
4. Cover the Top, Leave the Sides Open
While sunlight and airflow are crucial, your firewood needs protection from rain and excess moisture. Here’s the right way to cover it:
- Use a tarp or specialized firewood cover.
- Cover only the top of the stack to shield it from rain while leaving the sides open for air circulation.
5. Build a Solar Kiln
If you’re in a hurry to dry your firewood, consider creating a DIY solar kiln. A solar kiln captures heat and circulates it around the wood for rapid drying. Here’s how to build one:
- Enclose the woodpile in clear plastic sheeting, leaving small ventilation holes.
- Face the structure toward the sun to maximize heat exposure.
- Ensure airflow by leaving gaps at the base for air to enter and at the top for moist air to escape.

6. Leverage a Dehumidifier Indoors
If you have a smaller batch of firewood, place it in a closed room with a dehumidifier running. This method works well during rainy seasons or in humid environments. Ensure good ventilation to avoid musty odors.
7. Rotate and Rearrange the Logs
Every few weeks, rearrange your firewood stack to expose different sides to the sun and air. Rotating the logs ensures even drying and prevents mold or mildew from developing.
8. Use a Firewood Kiln for Speed
For the fastest results, invest in a firewood kiln. These machines dry wood using controlled heat and air circulation, reducing the drying time to just a few days. While costly, this method ensures consistent and reliable results.
9. Avoid Plastic Covers
Completely covering your woodpile with plastic traps moisture and hinders drying. If you must use plastic, ensure it only covers the top and doesn’t wrap around the entire stack.
The Drying Timeline: How Long Does It Take?
The time required to dry wet firewood depends on several factors:
- Type of Wood: Hardwoods like oak take longer (6–12 months) to season compared to softwoods like pine (3–6 months).
- Weather Conditions: Warm, dry climates speed up drying, while cold, damp conditions slow it down.
- Initial Moisture Content: Freshly cut wood (also called green wood) contains up to 50% moisture, requiring more time than slightly damp logs.
To ensure your wood is ready to burn, aim for a moisture content of 20% or lower. Use a moisture meter to check the wood’s readiness.
Tips for Success
- Harvest at the Right Time: Cut firewood in late winter or early spring. Wood felled during this time has lower sap content, making it easier to dry.
- Choose the Right Wood: If speed is a priority, use softwoods like cedar or spruce, which dry faster than dense hardwoods.
- Check for Readiness: Knock two pieces of wood together-dry wood produces a hollow sound, while wet wood sounds dull.
- Keep the Area Clean: Remove debris and weeds around the woodpile to improve airflow and reduce the risk of pests or mold.
Safety Considerations
Burning wet wood increases the risk of chimney fires due to creosote buildup. Ensure you:
- Always use dry, seasoned wood.
- Schedule regular chimney inspections and cleanings.
- Keep an eye on the fire to prevent smoke from accumulating indoors.
Conclusion
Drying firewood is an art, much like preparing a meal with precision and care. By splitting logs, stacking them properly, leveraging natural elements, and using tools like moisture meters or kilns, you can ensure your firewood is ready to burn in the shortest possible time. Whether you’re warming your home or creating ambiance, dry firewood is the key to a clean, efficient, and enjoyable fire.
>>> Read more: Which Cooking Oils Work Best for Grilling?
